Lucky Egg Game How to Survive Tsunamis
Read the wave, protect your HP, and turn near-death runs into banked eggs.
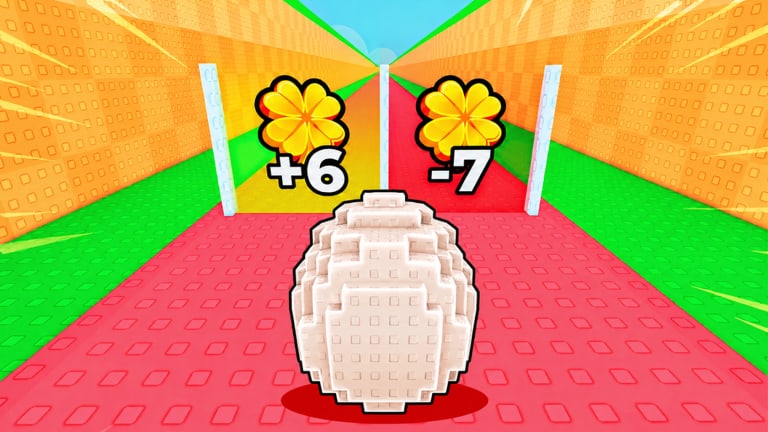
Tsunamis are the pressure valve of Lucky Egg Game. Without them, the map would be a quiet lifting sim. With them, every egg run becomes a timed heist: leave safety, grab value, return before the water decides you were too greedy. This guide teaches survival as a skill you train alongside weights and luck, not as a random death you shrug off. Pair it with Getting Started if you are brand new, Weight Training for HP, and How to Boost Luck so the eggs you risk your life for are actually worth hatching.
Lucky Egg Game updates every Saturday. Wave timing, zone layout, or HP breakpoints can shift after a patch, so re-read this page when Updates mentions tsunami or map changes. Servers hold only four players, which is good news for survival: you can see who is baiting a deep run and who is playing safe without visual noise.
Why HP and timing beat panic movement
Surviving is not only about sprinting in a straight line. Two stats dominate outcomes:
- HP from weight training — higher HP lets you tank mistakes, delayed turns, and contested paths.
- Clock discipline — leaving early with a medium egg beats dying with a legendary egg still in hand.
Players who only practice parkour without lifting will still wipe when a wave clips them on a long return. Players who only lift without learning cues will still wipe because they exit too late. Train both. Use the pad sessions from Weight Training, then run deliberate tsunami drills on near zones until your return timing feels automatic.
Reading the wave
Treat each tsunami cycle as three phases:
Prep phase
You are in a safe or semi-safe pocket. Lift if you need HP. Hatch or stash pets. Plan the next route: which green doors, which egg targets, which exit path. Check whether another lobby player is already committed deep — in a four-player server, colliding routes create traffic that costs seconds.
Commit phase
You leave safety for value. Move with a clear order: doors that fit the path, then eggs, then turnaround. Do not invent a second objective mid-run unless the clock is clearly generous. Green doors are valuable, but a door that forces you into the wave’s mouth is a bad trade; see How to Boost Luck for safer luck windows.
Extract phase
The wave is rising or already visible. Drop greed. Take the shortest known safe path home. If you must choose between one more egg and a clean extract, extract. Dead players earn zero cash while waiting to recover, and recovery time is the hidden cost beginners ignore.
A real CoralBlox session on this place shows how wave HP pressure and luck pickups force you to choose extract timing over greed—use footage like that as pacing context, not as a promise that every lobby matches frame-for-frame after Saturday patches.
Route design for early and mid game
Near-zone loops
Your first survival goal is consistency, not glory. Build a short loop: pad → nearest doors if available → nearest eggs → home. Repeat until you can complete it without dipping into emergency HP. Only then add one extra stop farther out. This mirrors the patience advice in Getting Started and feeds pets quickly so cash funds better weights.
Mid-zone loops
Once near loops are boring, add a mid checkpoint: a door cluster or egg pocket that still leaves a straight extract. Practice turning around at a fixed visual landmark even if the egg looks tempting. Landmarks beat gut feel when adrenaline spikes.
Deep greed runs
Deep runs are for sessions where your HP, luck, and pet income already feel strong. Announce the risk to yourself: this run is optional. If you wipe, you still have income running. Never stake your entire upgrade plan on one deep egg while you are saving for a rebirth breakpoint — read Rebirth Guide before mixing high-risk routes with reset timing.
HP thresholds and gear
You do not need a perfect spreadsheet to feel thresholds. Use these practical checks:
- If near waves still chunk most of your bar, return to lifting before more map practice.
- If mid routes leave you at half HP on a clean extract, buy the next meaningful weight instead of another cosmetic or tiny upgrade.
- If deep routes only work when everything goes right, you are under-geared for that greed level.
Compare purchases against the Weight Tier List. Some mid weights look cool but give poor HP per cash. Skipping them keeps your survival curve climbing instead of flatlining on vanity buys.
Playing the four-player lobby
Small servers create social survival patterns:
- Draft off safer players: If someone always extracts early, their path is a free timing tutor.
- Avoid door fights late in the clock: Contesting a green door with two seconds left is how double wipes happen.
- Share information without chat spam: Watching where others die is data. Adjust your personal turnaround point one landmark earlier.
If you use helper tools, keep them secondary to judgment. Strategy pages assume fair play; anything on Scripts should never replace learning wave cues yourself.
Recovering after a wipe
Death is part of the curriculum. A good recovery loop looks like this:
- Do not immediately re-enter the same deep route angry.
- Lift for a short HP top-up if the wipe revealed a strength gap.
- Run two near-zone successes to restore rhythm and bank eggs.
- Only then retry the failed route with an earlier turnaround.
Also reclaim mental bandwidth: redeem fresh gifts on Codes if available, check Updates for unexpected wave changes, and confirm your egg targets still make sense on the Egg Tier List. Wipes feel worse when you were chasing a low-tier egg that was never worth the risk.
Advanced survival habits
- Pre-spend cash before greed: Buy the weight you need while safe so a wipe does not leave currency stranded in a dead plan.
- Luck windows between waves: Schedule door clears for prep phase when possible so commit phase stays egg-focused.
- Pet bank before deep attempts: Ensure income is working so a wipe is a delay, not a bankruptcy.
- Saturday reset awareness: After weekly patches, relearn timing on near zones before you copy last week’s deep route.
Related guides and hubs
Survival sits in the middle of the guide web. Strengthen the body with Weight Training, improve the prize with How to Boost Luck, time your economy with Rebirth Guide, and return to the Guides Hub for the full list. Ranked gear and eggs live under the Tier List Hub. For companions and community destinations, see Players and the Links Hub.
Master the wave and Lucky Egg Game stops feeling unfair. The tsunami is a timer you can train against — lift enough HP, leave on schedule, extract on purpose, and let pets pay for the next attempt.
Frequently Asked Questions
Quick answers to the most common questions.
What is the biggest reason beginners die to tsunamis?
Leaving too late with low HP. Lift first, set an earlier turnaround landmark, and extract before greed overrides the clock.
Should I take green doors during a tsunami run?
Yes if they sit on a safe path with clock remaining. Skip doors that force a late detour into the wave.
Does more HP always mean I can go deeper?
Higher HP helps, but bad timing still kills you. Raise HP and practice extracts together.
What should I do right after a wipe?
Short lift if needed, then two easy near-zone successes before retrying the failed deep route.
Can Saturday updates change tsunami difficulty?
Yes. Check Updates after weekly patches and relearn near-zone timing before copying old deep routes.